What is Post-Construction Window Cleaning, and Why is it Needed?
If your home has undergone construction or is near a construction site, the chances are that your windows feature a heavy buildup of dust, grime, and debris on their surface, maybe even a bit of paint or adhesive as well. It can be challenging to remove these layers because of how thick they can be and because the dust- if it came from things like drywall and wood remnants– is much more abrasive than ordinary dust. Trying to remove it with standard cleaning tools can cause damage to your windows and frames. Specialized post-construction window cleaning methods or professional services are needed to get your house looking younger and back to a beautiful state.
Related: Interior Glass: DIY or Hire an Inside Window Cleaning Service?
DIY Cleaning Vs. Hiring a Professional
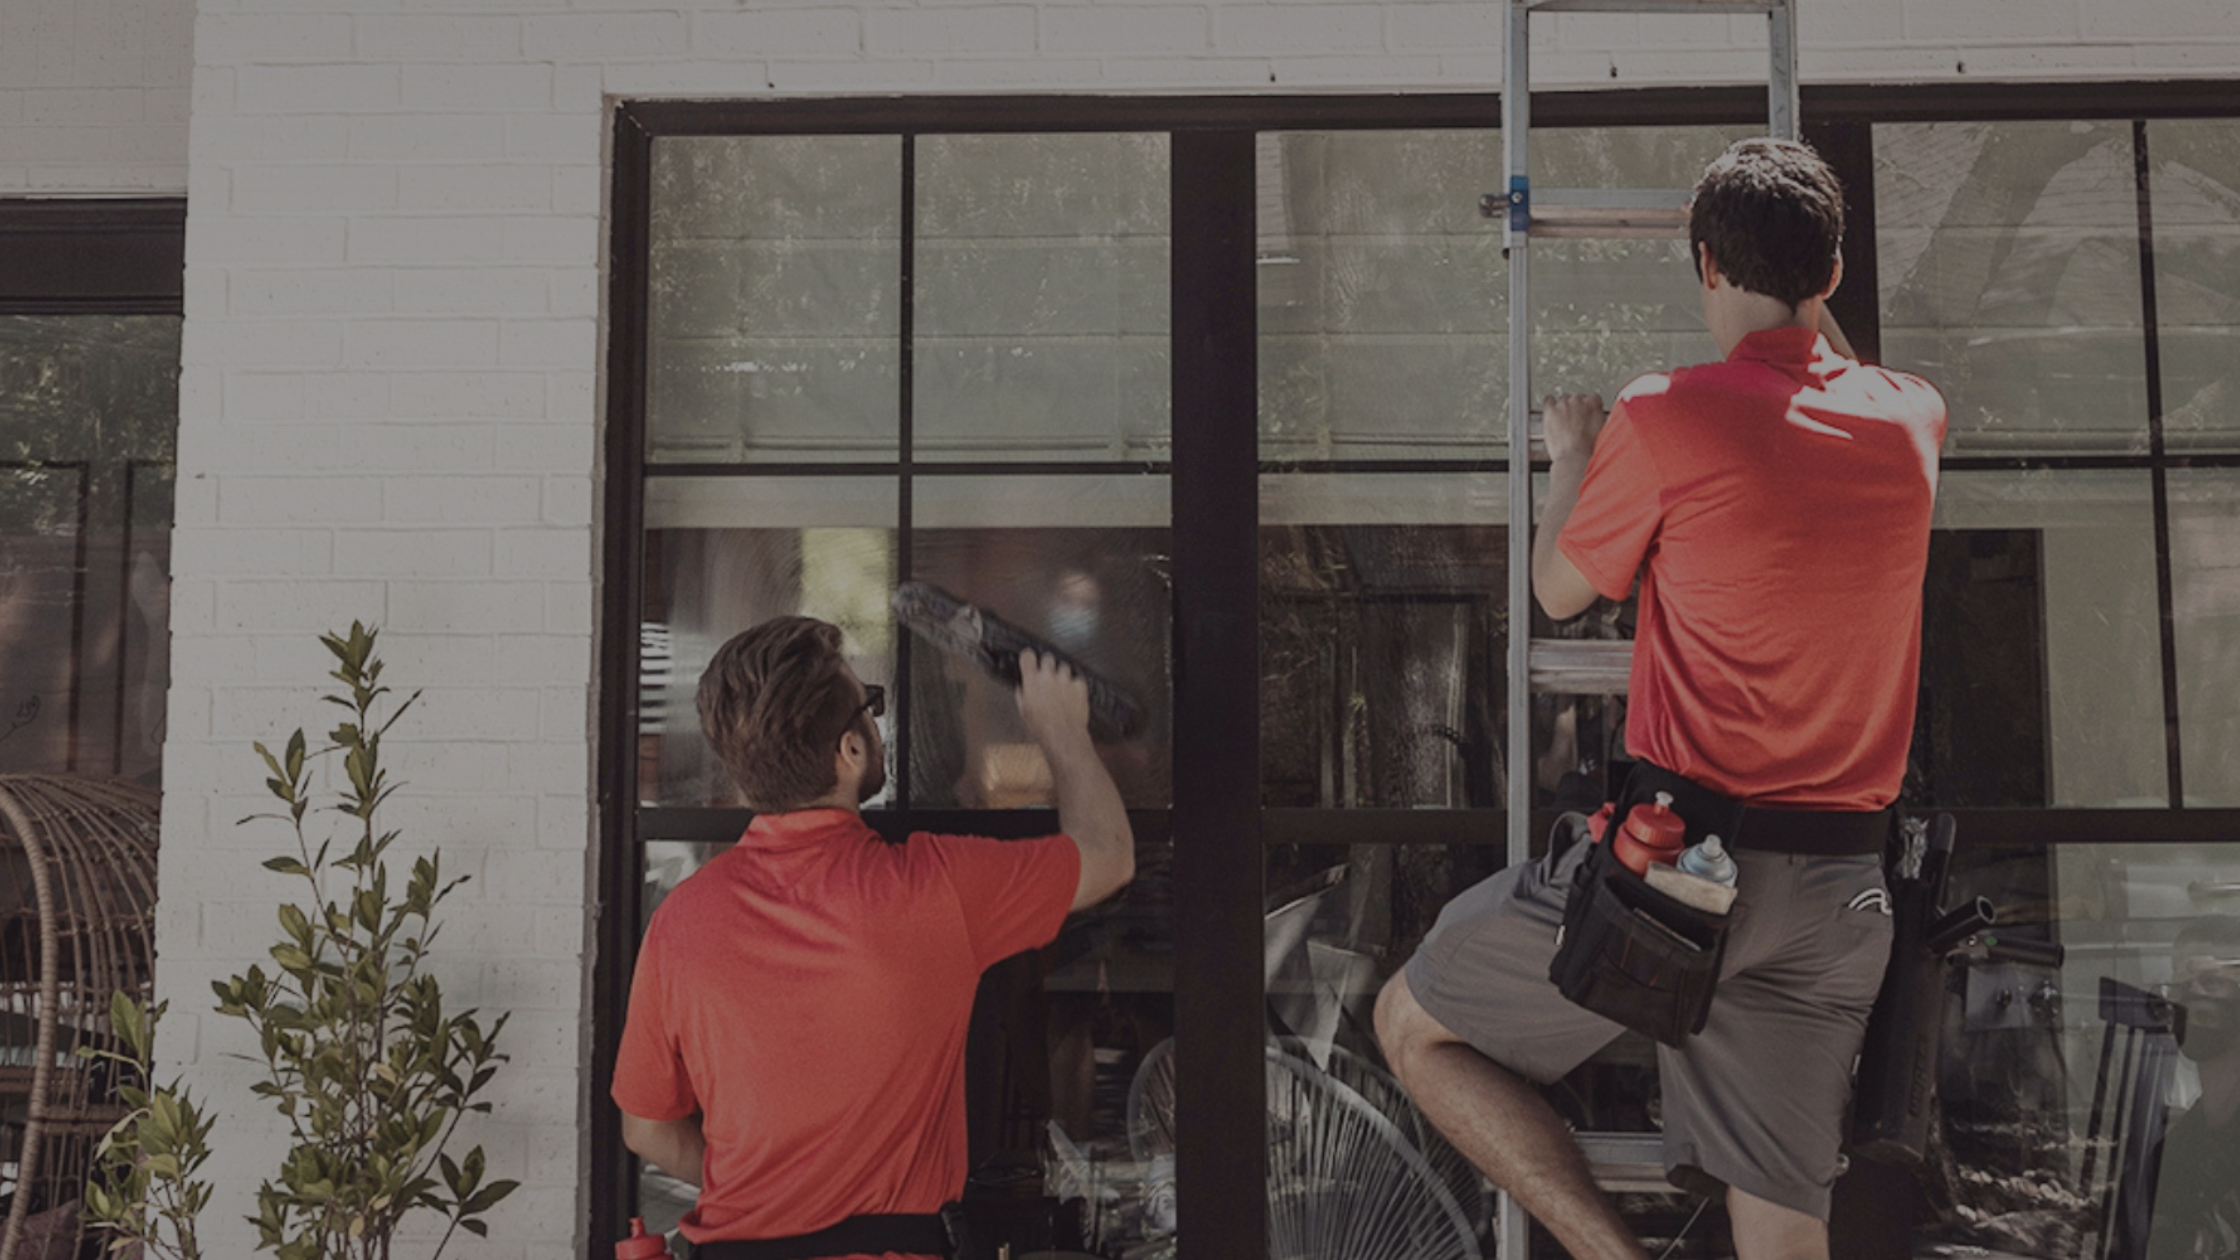
Once you’ve concluded that your home’s windows need a good, post-construction washing, you’ll then have to decide whether you’d like to tackle the job on your own or if you’d prefer hiring a professional window cleaning service to handle everything for you. For the sake of your time, money, and safety (especially if your home is more than a single story), we honestly recommend hiring a company like Shine to handle the job for you. They can ensure that your home is cleaned safely and effectively, and they won’t miss all of those hard nooks and crannies that are difficult to clean on your own.
Not only can they take care of other house cleaning maintenance for you, including gutter cleaning and house and pressure washing. They can even take care of putting up and taking down your holiday lighting. That said, if you’ve already decided on tackling this project yourself, there is a range of supplies that you’re going to need and several involved steps you’re going to need to follow to ensure that your home’s windows are getting sufficiently clean.
Are you a Dallas or Austin homeowner looking for a top-quality post-construction window cleaning service to get your home looking its best? Check out the services offered by the experts at Shine today to learn about what they can do for you.
What You’ll Need For DIY Post-Construction Window Cleaning
You’re going to need to have several supplies on hand to clean your windows successfully post-construction. These include:
- Newspaper pages
- Glass cleaner
- A wet-dry, heavy-duty shop-vac (a household vacuum will not be strong enough)
- A glass scraper
- A squirt bottle filled with plain water
- Shop rags
- A glass cleaning squeegee with one soft side and a rubber lip or edge on the other
- A broom
Related: Can You Pressure Wash A Window?
Post-Construction Window Cleaning Steps to Follow
Generally speaking, there are three basic steps to follow when it comes to cleaning your windows post-construction, and sticking to these steps will allow you to ensure that your windows get as clean as possible. These steps include:
Related: Three Reasons to Hire a Professional Window Cleaner
Step 1: The Shop-Vac and Broom
The first step is to use your shop-vac to carefully remove as much debris and dust from the surface of the windows as possible. To avoid scratching the glass, hold the hose of the shop-vac about one inch away from the window as you slowly move it. Remember, don’t touch the glass with any part of the shop vac, or it could cause damage to the windows. Also, use the shop-vac or a sturdy broom to clean the walls and crevices around the windows. You’ll want to do this, so the additional debris around the windows doesn’t settle onto the glass after you’ve finished cleaning it. Additionally, you can use a slightly damp shop rag to help you gently wash the window frame and sill without causing scratches or accidentally removing paint and leaving behind bald spots on your house.
Step 2: Scraper, Water, and Squeegee
After removing the dust and other surface debris, it’s time to remove any remaining paint, adhesive, caulk, or other sticky residue left clinging to the surface of the glass. First, take your glass scraper and hold it at an angle as you run it over the window to remove the sticky material. You can also use it around the glass edges to remove any unseen debris clinging to the window’s trimming.
After scraping, spray down the window with plain water to get it as wet as possible, allowing the surface to soak. Follow this with a very light spray of window cleaning solution, and then carefully use the rubber side of your squeegee to remove the water and cleaning solution. If there is any grime that you can’t seem to remove, use your shop rag and apply very gentle pressure to help remove the residue without scratching the windows. Repeat this process as needed until the windows are clean before moving onto the final step.
Step 3: Cleaning Solution and Newspaper
Your windows should be clean by now, but the cleaning process likely left behind some streaks and watermarks. To remove these unsightly markings, use the glass cleaner one more time to coat the window’s surface, and then use a few pieces of crumpled newspaper to wipe it away instead of standard cloth or paper towels. Newspaper absorbs the glass cleaner differently than cloth, so it doesn’t leave behind these streaks and watermarks, and it’s soft enough that it won’t scratch the glass or cause any other damage to the window while removing the glass cleaner and any residual dust or grime.
Do your Dallas or Austin home windows need a little TLC after exposure to some heavy construction? Contact the experts at Shine or reach out to (214)-247-7483 today to learn about what their stellar window cleaning and pressure washing services can do for your home.